How to Choose Textile Laboratory Testing Equipment
Choosing Textile Laboratory Testing Equipment is not simply a matter of comparing prices or selecting the machine with the most features. The right choice depends on the tests your laboratory performs, the materials it handles, and the results customers expect. A tensile tester measures fabric strength; an abrasion tester helps assess surface wear. Colorfastness, pilling, and dimensional stability each call for suitable methods and fixtures. Small details matter. A clamp that slips, a poorly sized specimen, or inconsistent conditioning can affect results. Even a capable instrument cannot fix every weakness in a testing process.
Start by listing your required test methods, sample types, workload, and reporting needs. Then check whether each instrument can accommodate your specimens and provide repeatable measurements under your working conditions. Ask suppliers about calibration, installation, operator training, maintenance, and access to replacement parts. Review technical documents, and request a demonstration using materials similar to yours when possible. These checks provide more useful evidence than a feature list alone. They also reveal practical issues, such as limited bench space or a setup that takes longer than expected.
There is no universal best choice. A small quality-control room and a high-throughput research laboratory may need different capabilities. Budget matters, but so do service support and long-term operating costs. It is easy to overlook the operator’s experience, too. This guide explains how to compare equipment against real testing needs, identify trade-offs, and make a decision your team can support with clear records and sound technical reasoning. A second review is worthwhile. Even a careful selection can miss something.
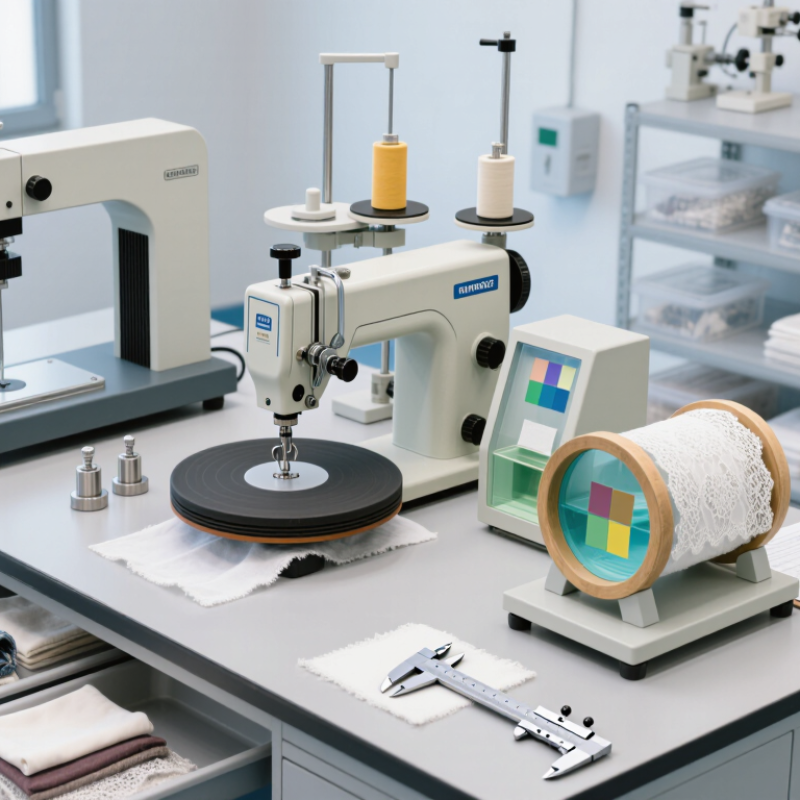
Define the Textile Tests Your Laboratory Needs to Perform
How to Choose Textile Laboratory Testing Equipment
Define the Textile Tests Your Laboratory Needs to Perform
Start with the fabrics and decisions your laboratory must evaluate. A cotton jersey supplier may need shrinkage, colorfastness, and bursting-strength tests. An upholstery team may prioritize abrasion, pilling, and seam performance. Write down the material, test method, sample volume, and acceptance criteria for each job. Specifics matter.
Textile Exchange’s Materials Market Report 2024 estimates that global fiber production reached 124 million tonnes in 2023. That scale includes many fiber types and blends, each with different test requirements. For example, ISO 105-C06 covers colorfastness to domestic and commercial laundering, while ISO 12947 addresses abrasion resistance using the Martindale method. Match equipment to the methods your customers or specifications actually require, not to a broad wish list.
Then map daily workflow: sample conditioning, operator skill, testing frequency, and result recording. A small laboratory running occasional tensile tests may not need the same capacity as one testing every production lot. Check fixture options, calibration needs, safety features, and available bench space. A humidity-controlled room can matter as much as the instrument. It is easy to overestimate future demand; I would review the test list with technicians before ordering. Some priorities will change. Keep those assumptions visible, and verify each method’s current edition before writing purchase requirements.
Identify Applicable Testing Standards and Sample Requirements
Before choosing textile laboratory testing equipment, identify the exact method named in the product specification, customer request, or applicable standard. Different methods can require different grips, loads, speeds, and specimen shapes. For example, ISO 13934-1 describes a strip method for measuring fabric tensile properties, while ISO 12947 covers abrasion testing. Check the required edition and any stated deviations. Small details matter.
Next, confirm what the method demands from each sample. Note the minimum specimen dimensions, number of replicates, fabric direction, and whether edges or seams must be included. A tensile tester may need suitable grips for delicate knits, while abrasion equipment needs the specified rubbing components and specimen holders. Ask whether samples must be conditioned in a controlled textile atmosphere, such as the one described in ISO 139. A few extra swatches can prevent delays when a specimen slips or becomes damaged.
Compare those requirements with the instrument’s working range and included fixtures, rather than relying on a general equipment description. Check that its force capacity suits the expected fabric strength and that the software can record the outputs required by the method. Keep a sample-preparation sheet beside the cutting table. It should record conditioning time, orientation, dimensions, and replicate identification. A worksheet may still miss an awkward seam or coating. Review the method with the lab technician before ordering, especially when testing an unfamiliar fabric construction.
Compare Equipment Types, Measurement Ranges, and Key Features
Textile laboratories use different instruments for different questions. A tensile tester measures force and extension in yarns or fabrics. Check its load range against the weakest and strongest samples you expect to test. A range that is too broad may make small changes harder to resolve. Abrasion and pilling testers assess surface wear, but their motion, pressure, and cycle settings should match your test method. Colorfastness equipment may use rubbing, washing, or light exposure. These tests are not interchangeable.
Look beyond the headline range. Confirm the instrument’s resolution, repeatability, available fixtures, and calibration requirements. For moisture testing, for example, sample size and conditioning can affect readings as much as the instrument itself. Small details matter. Ask whether the software records raw results and flags measurements outside set limits. A clear display helps, but it cannot correct poor sample preparation. I would question the habit of choosing the widest measurement range by default; a suitable range should fit routine samples while leaving room for unusual ones. Also consider bench space, operator training, and service access. A technically capable instrument can still be a poor fit if staff cannot use it consistently. Test representative materials before purchase, and document the method used so results remain comparable over time.
How to Choose Textile Laboratory Testing Equipment
Compare equipment types, measurement ranges, and key features. The chart shows example tensile-tester load-cell capacities; choose a capacity suited to the expected force and required measurement accuracy. Available capacities vary by instrument.
| Equipment type |
Measurement and range considerations |
Key selection feature |
| Tensile tester |
Force in N or kN; capacity depends on the selected load cell. |
Interchangeable load cells, suitable grips, and controlled test speed. |
| Bursting strength tester |
Bursting pressure, commonly reported in kPa; confirm the instrument’s pressure range matches the method and material. |
Compatible test method, diaphragm, and clamping arrangement. |
| Fabric thickness tester |
Thickness in mm; results depend on the specified presser-foot pressure and area. |
Controlled pressure, appropriate foot size, and adequate resolution. |
| Color assessment equipment |
Color-fastness ratings may use the ISO grey scale from grade 1 to 5. |
Standardized lighting and viewing conditions; select equipment for the applicable test method. |
The load-cell values shown are representative capacity options, not a universal specification. Verify the applicable test standard, instrument configuration, calibration, and measurement uncertainty before purchase.
Assess Accuracy, Calibration, Software, and Laboratory Compatibility
Accuracy is not just a number on a specification sheet. Check the instrument’s stated repeatability and measurement range against the tests your laboratory performs. If you test fabric thickness, for example, compare repeated readings from the same sample under consistent pressure. Small differences matter. Ask for test data or run representative samples before purchasing.
Calibration should be traceable and practical to maintain. Review the recommended interval, available reference materials, and the process for recording results. A calibration certificate is useful, but it does not replace routine checks. Keep a simple log of dates, readings, and corrective actions. Test it yourself. If staff cannot follow the procedure without guesswork, the schedule may not hold up in daily work.
Software deserves the same scrutiny as the instrument. Check whether it stores raw results, creates clear reports, and exports data in formats your team can use. Confirm that user access and backups fit your existing workflow. Then consider laboratory compatibility: bench space, power supply, ventilation, sample preparation, and operator training. A compact tester may still need room for accessories and conditioning equipment. Specifications rarely reveal every awkward workflow, so allow time for a hands-on trial before making the final choice.
Verify Supplier Support, Operating Costs, and Long-Term Maintenance
When choosing textile laboratory testing equipment, look beyond the purchase price. A tensile tester may fit your budget yet require costly grips or regular calibration visits. Ask suppliers how quickly they answer technical questions and whether training includes hands-on practice. Request a sample service schedule and clarify which parts wear under your expected workload. Small details matter.
Tips: Ask for itemized installation, calibration, software, and replacement-part costs. Confirm technician availability, response times, and training materials. Check whether your staff can perform routine checks, and note the recommended service intervals. Keep the quote.
Before ordering, compare estimated annual operating costs, not just initial quotations. Check power needs, consumables, software fees, and likely downtime during servicing. Ask for a maintenance log template and a sample calibration certificate. Support should be specific, not simply described as “available.” If possible, speak with a laboratory that uses the equipment daily. Staff may reveal awkward setup steps or fragile accessories. Even a careful forecast can miss something; revise it after the first year.





 Home
Home